Quickstart in 5 minutes
Create your workspace, run a search, reveal your first contact, save it to a pipeline and get ready to send.
This guide takes you from a new account to a verified contact in your pipeline. It takes about five minutes, and the first reveal is free.
You need an email address you can sign in with. You don't need a credit card: your first workspace starts on a 14-day Growth trial with 250 credits, then moves to the Free plan unless you choose a paid plan.
Create your workspace
Sign up
Go to omni.cloudgens.net/signup and enter your email and a password, or choose Continue with Google.
Verify your email
Open the verification email and click the link. You return to the step where you left off.
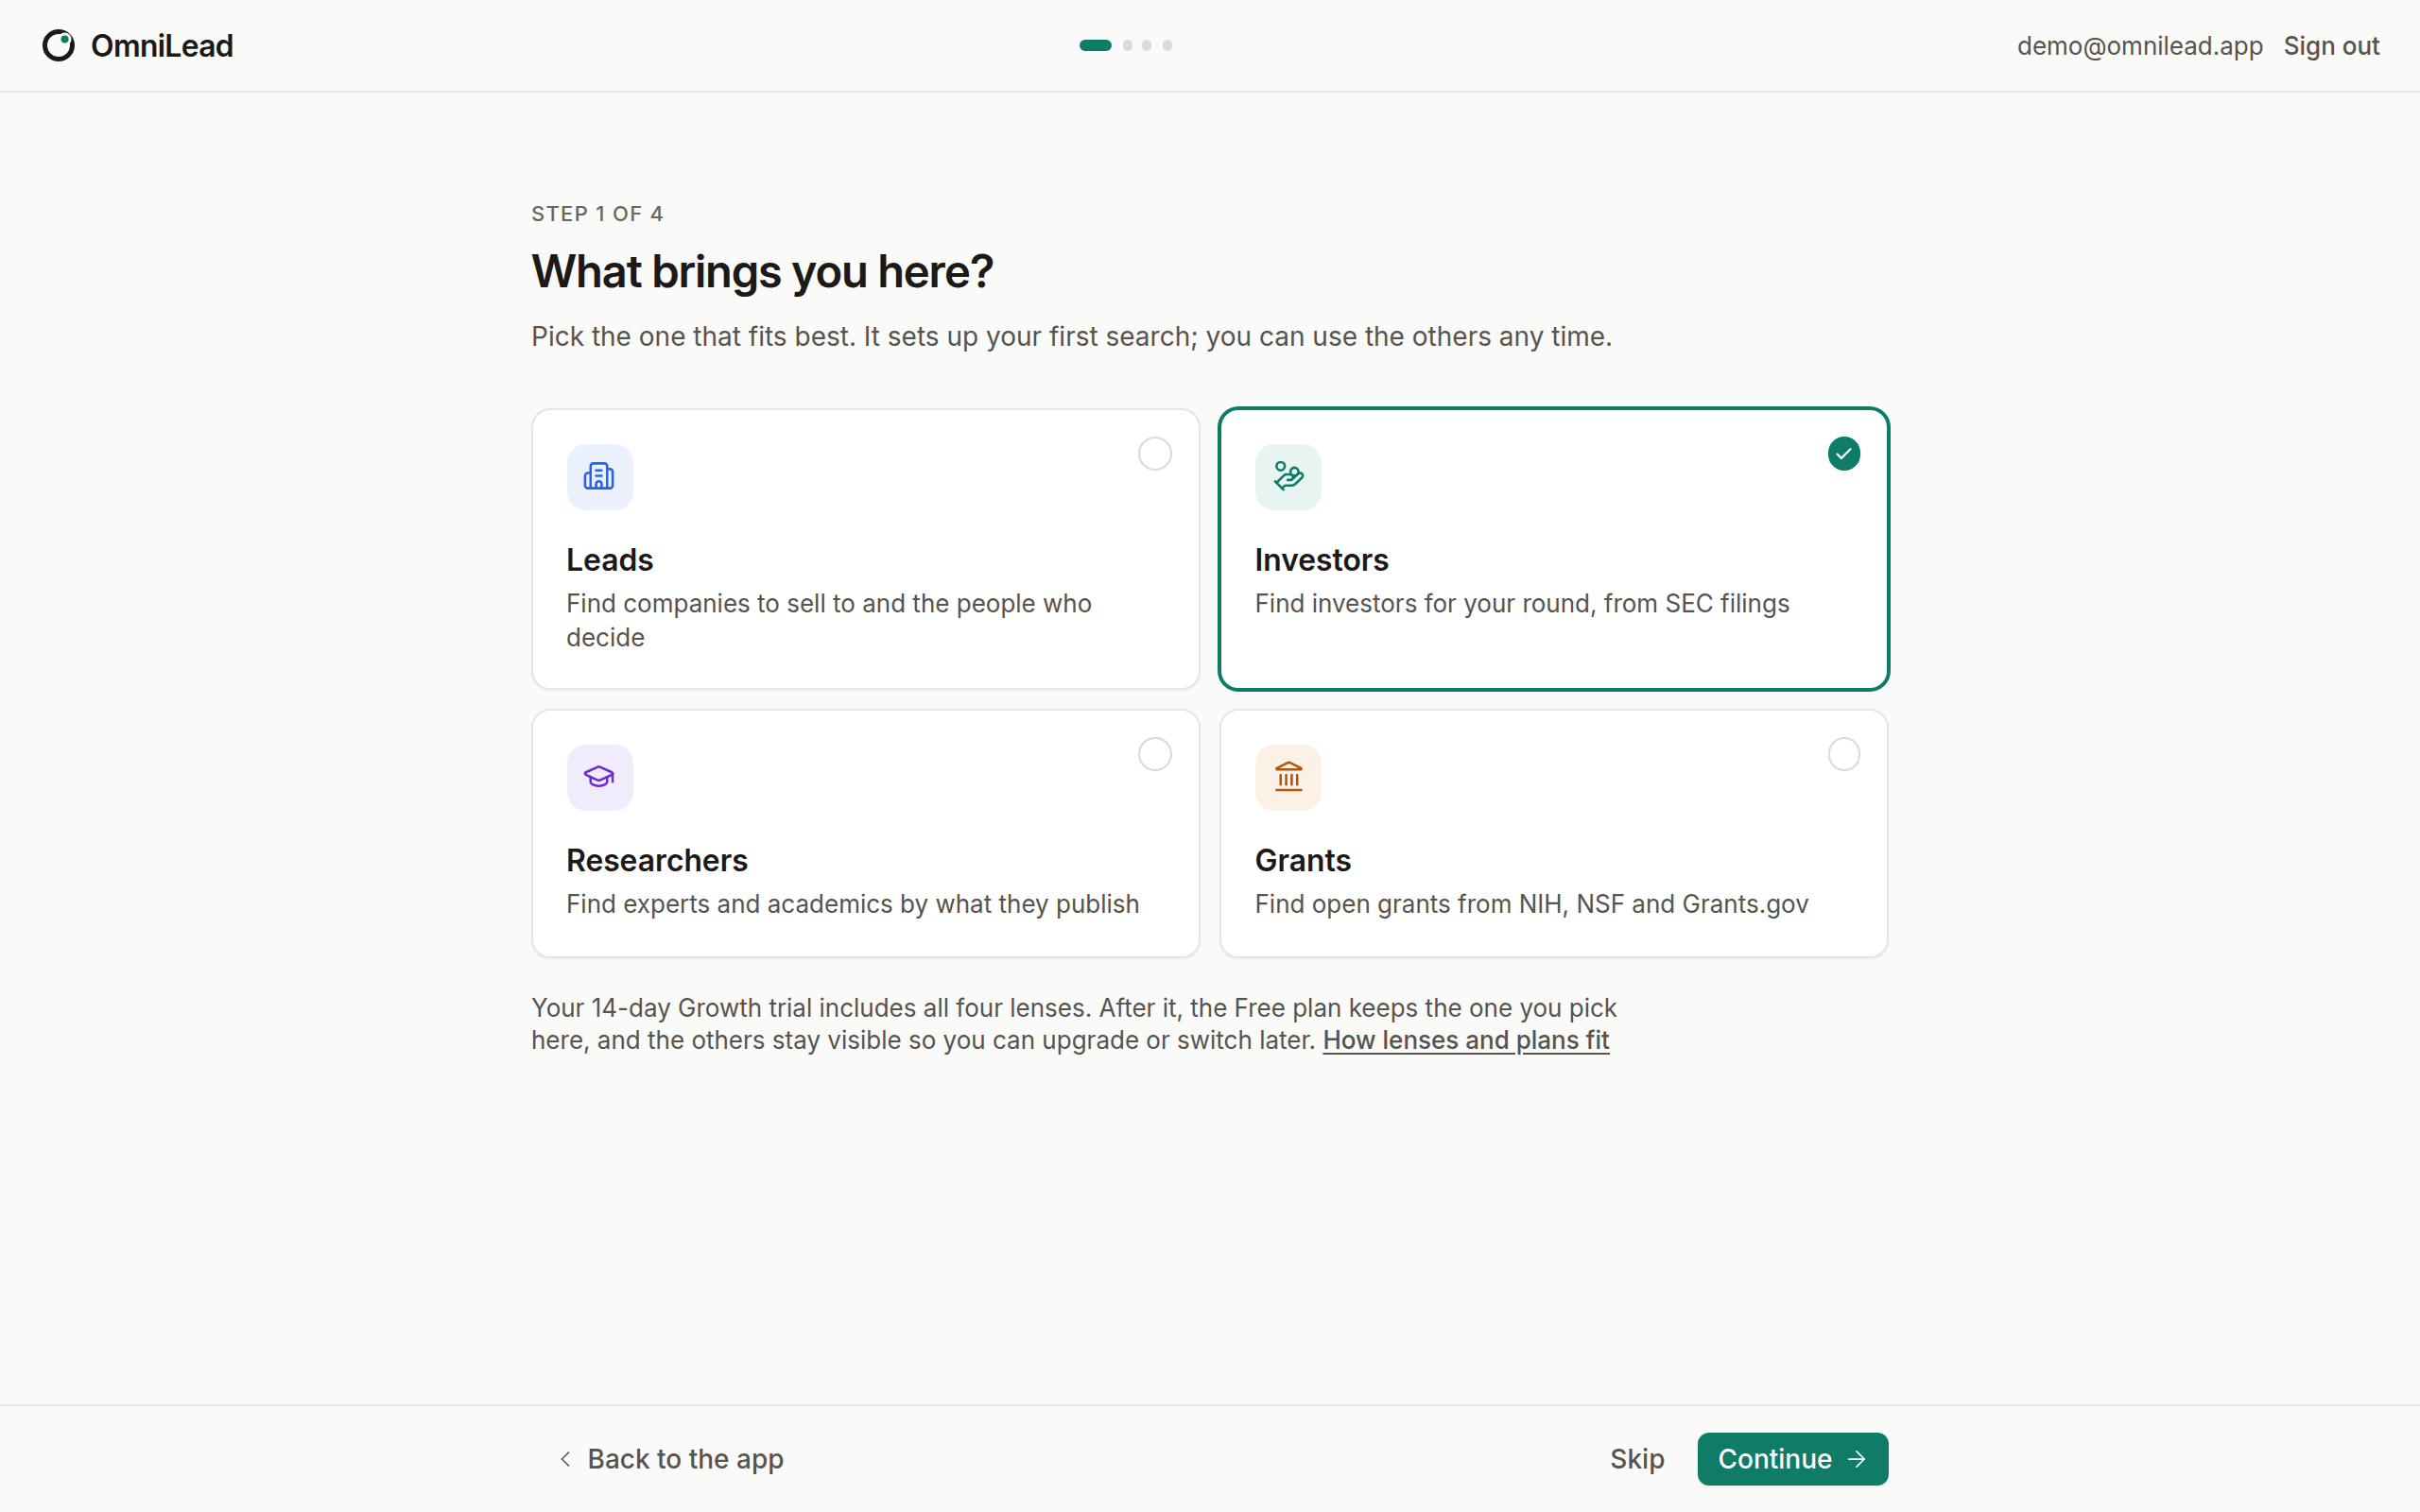
Pick what brings you here
On What brings you here?, choose the card that matches your goal: Leads, Investors, Researchers or Grants. This sets your first lens.
Answer two or three questions
OmniLead asks a few questions that shape your first search. For investors that's your stage, your sector and how much you're raising. For leads it's the industry, location and job title you sell to. Choose from the chips and menus, then click Continue.
See your first results
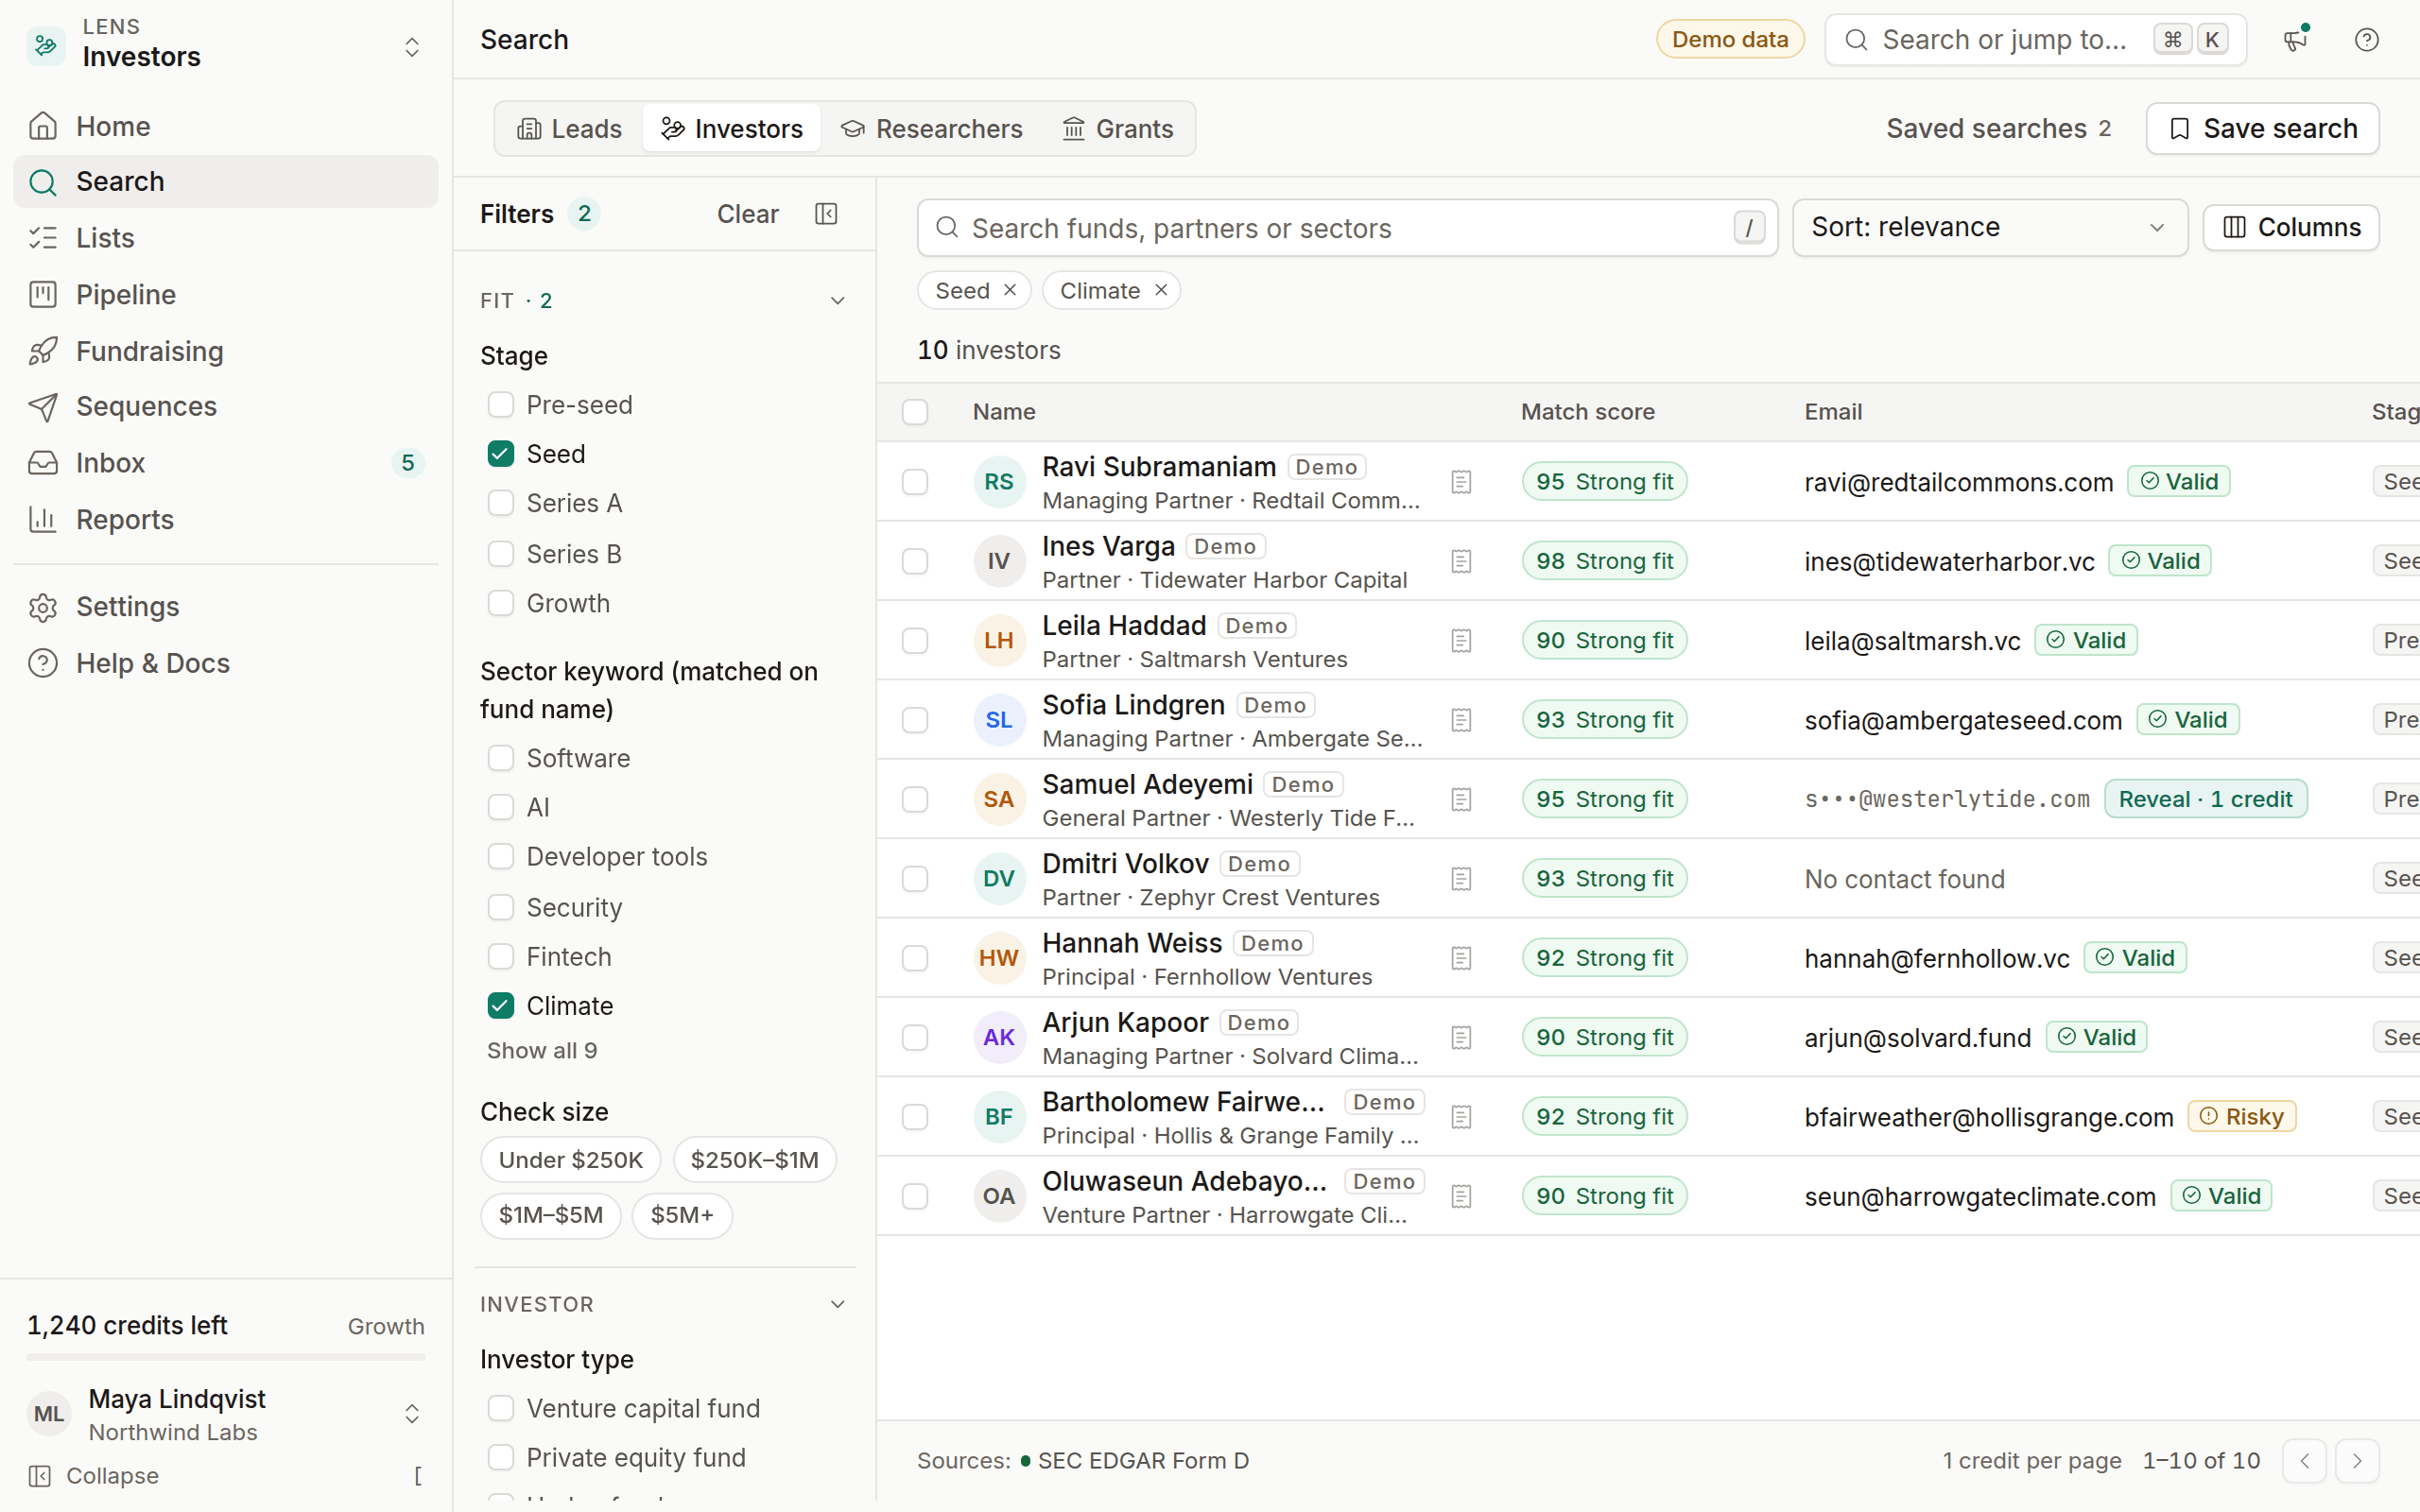
Step 3 shows real results for your answers. Each row shows the organization, the person where there is one, a masked contact and a provenance icon. One contact is revealed for you at no charge so you can see what a full record looks like.
Step 4 shows the connect-mailbox form right there: pick Gmail (app password) or Custom SMTP, run Test connection and Save mailbox. Choose Do this later if you want to explore first. You land on Home, which has a Getting started checklist with five items and a link to the doc for each one.
Run a search
Open Search
Click Search in the sidebar, or press /.
Type a query or pick a template
Type a company, fund, topic or domain into the search field, or choose one of the suggested templates under it, such as Seed funds active in B2B software.
Narrow with filters
Open a filter group in the left panel and pick values. The count next to Filters shows how many are active.
Each page of results costs 1 credit. Filters are free to change while you're on a page, so set them up before you move to the next page.
Reveal a contact
Contact details stay masked until you reveal them, so you only pay for the people you want.
Find the row
Pick a result you want to contact.
Click Reveal · 1 credit
The email and phone appear with a verification badge such as Valid, Risky or Catch-all.
Check the source
Click the provenance icon next to the email to see where it was found and when.
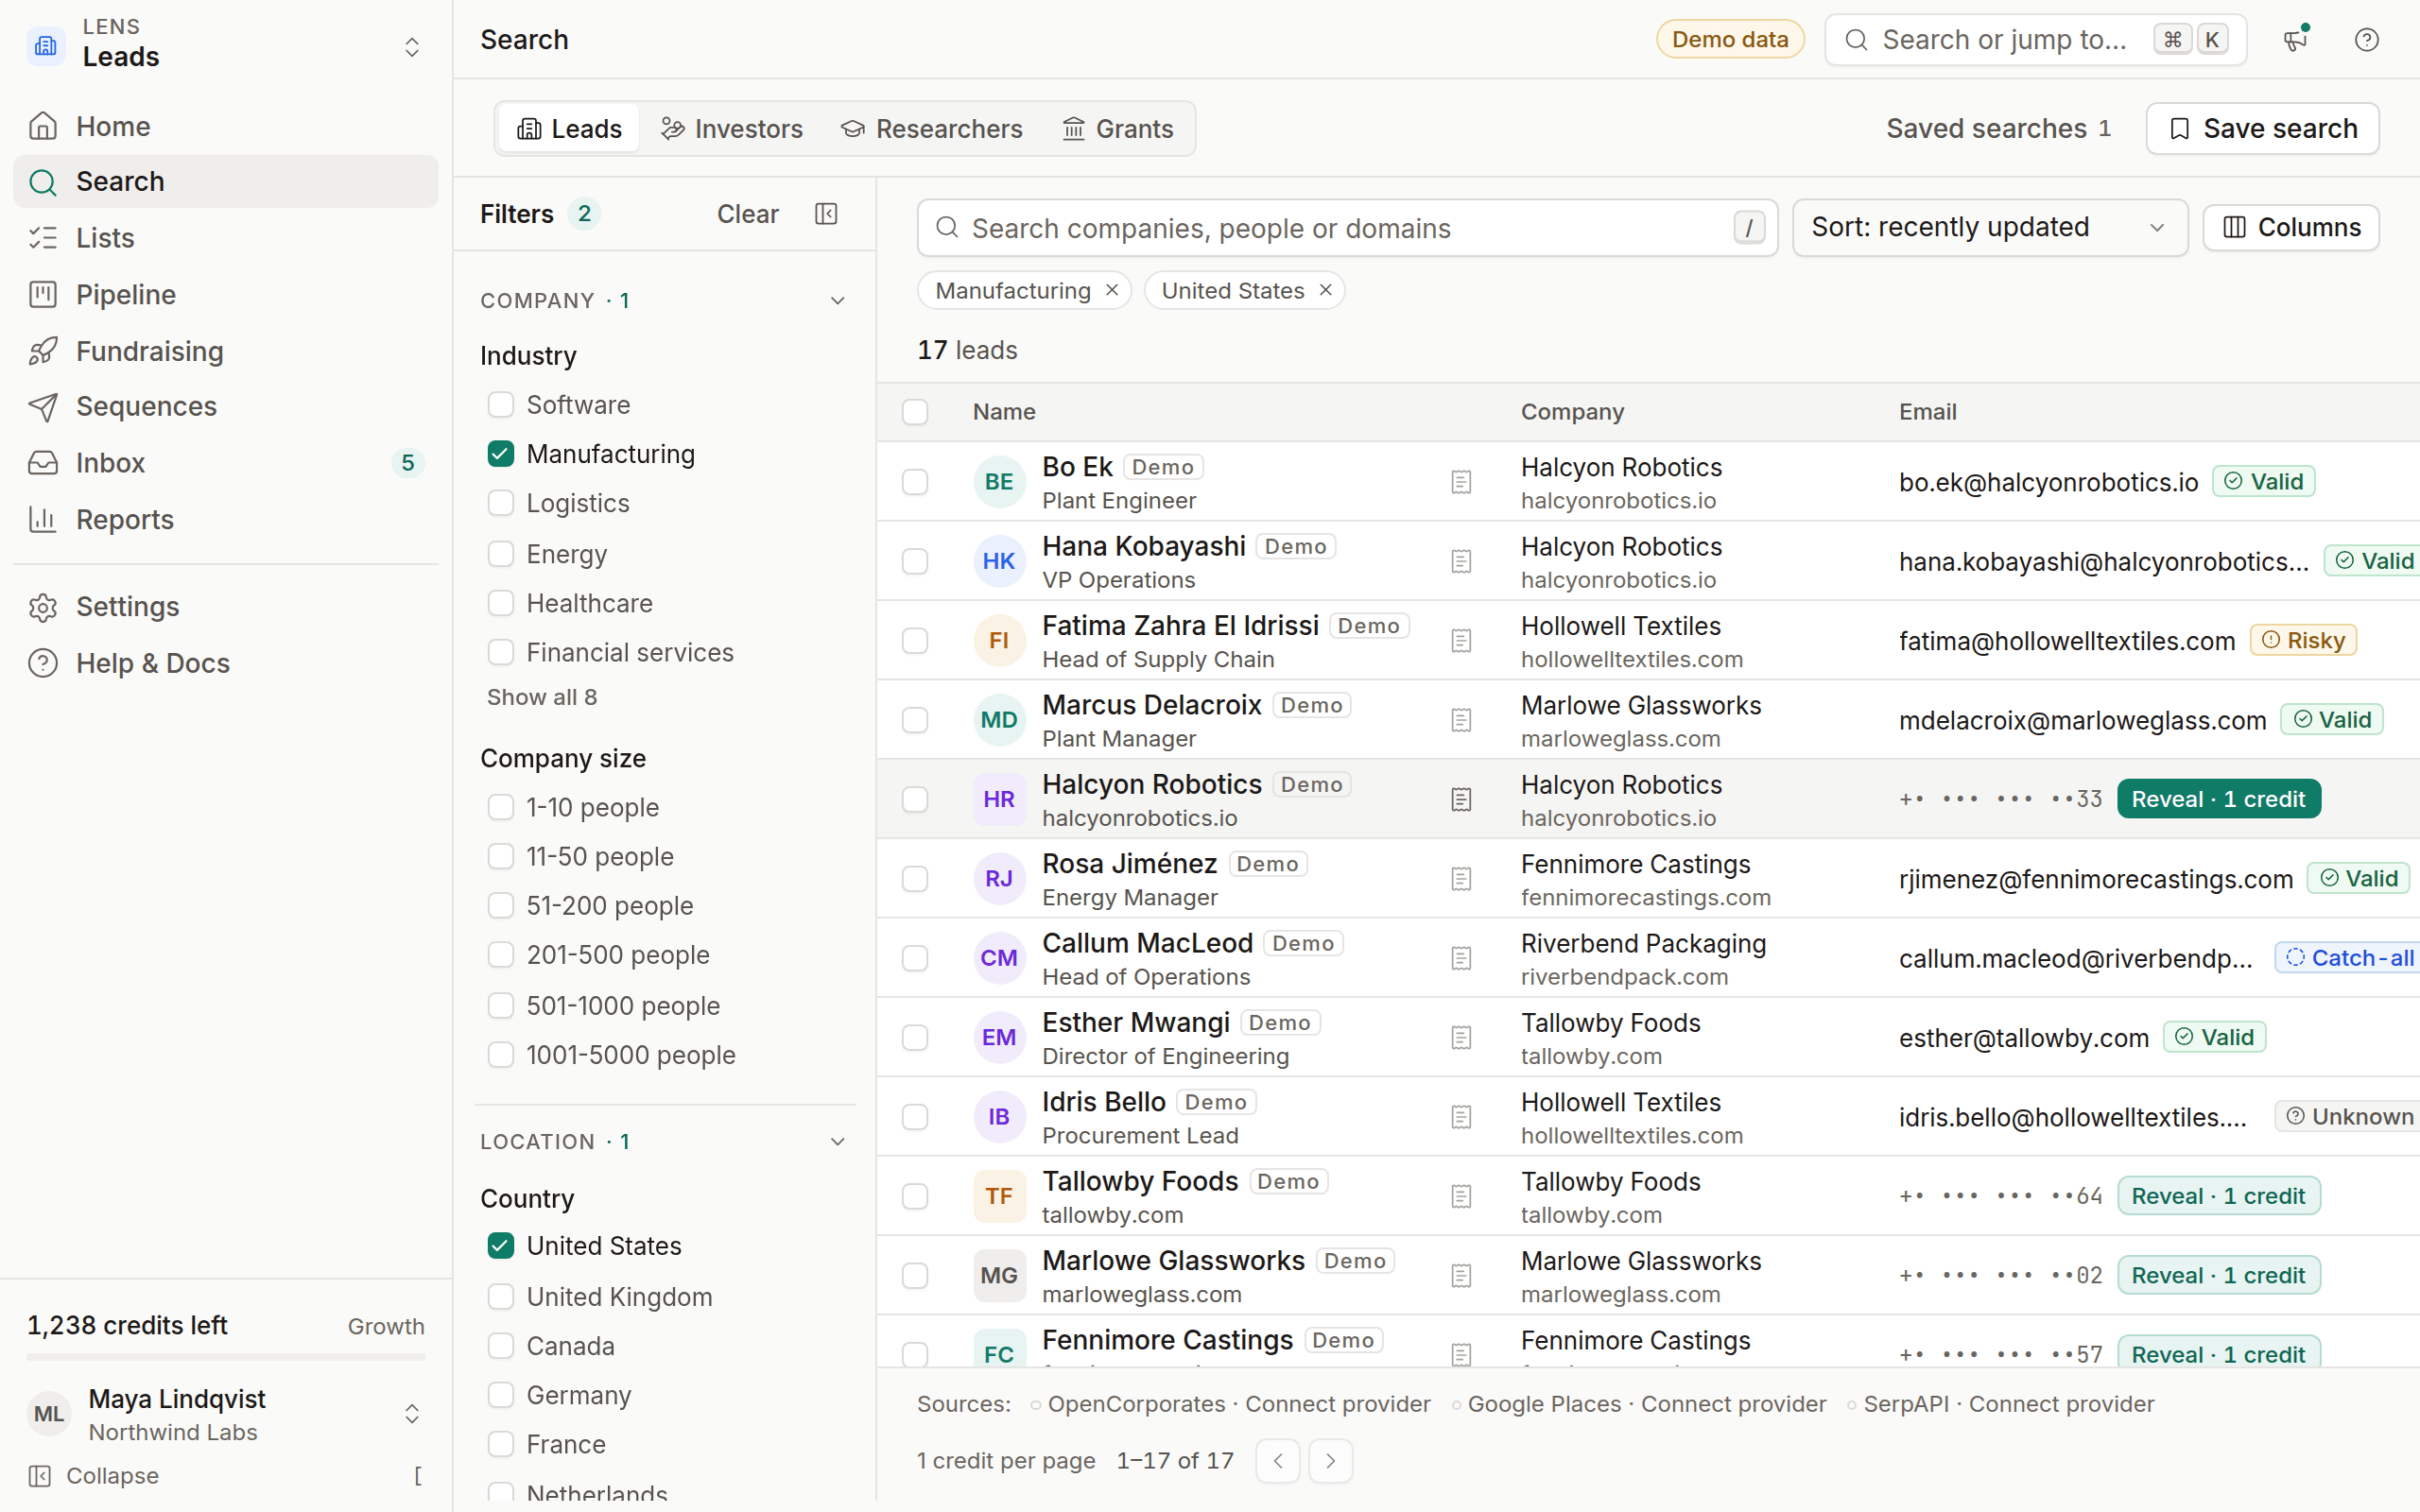
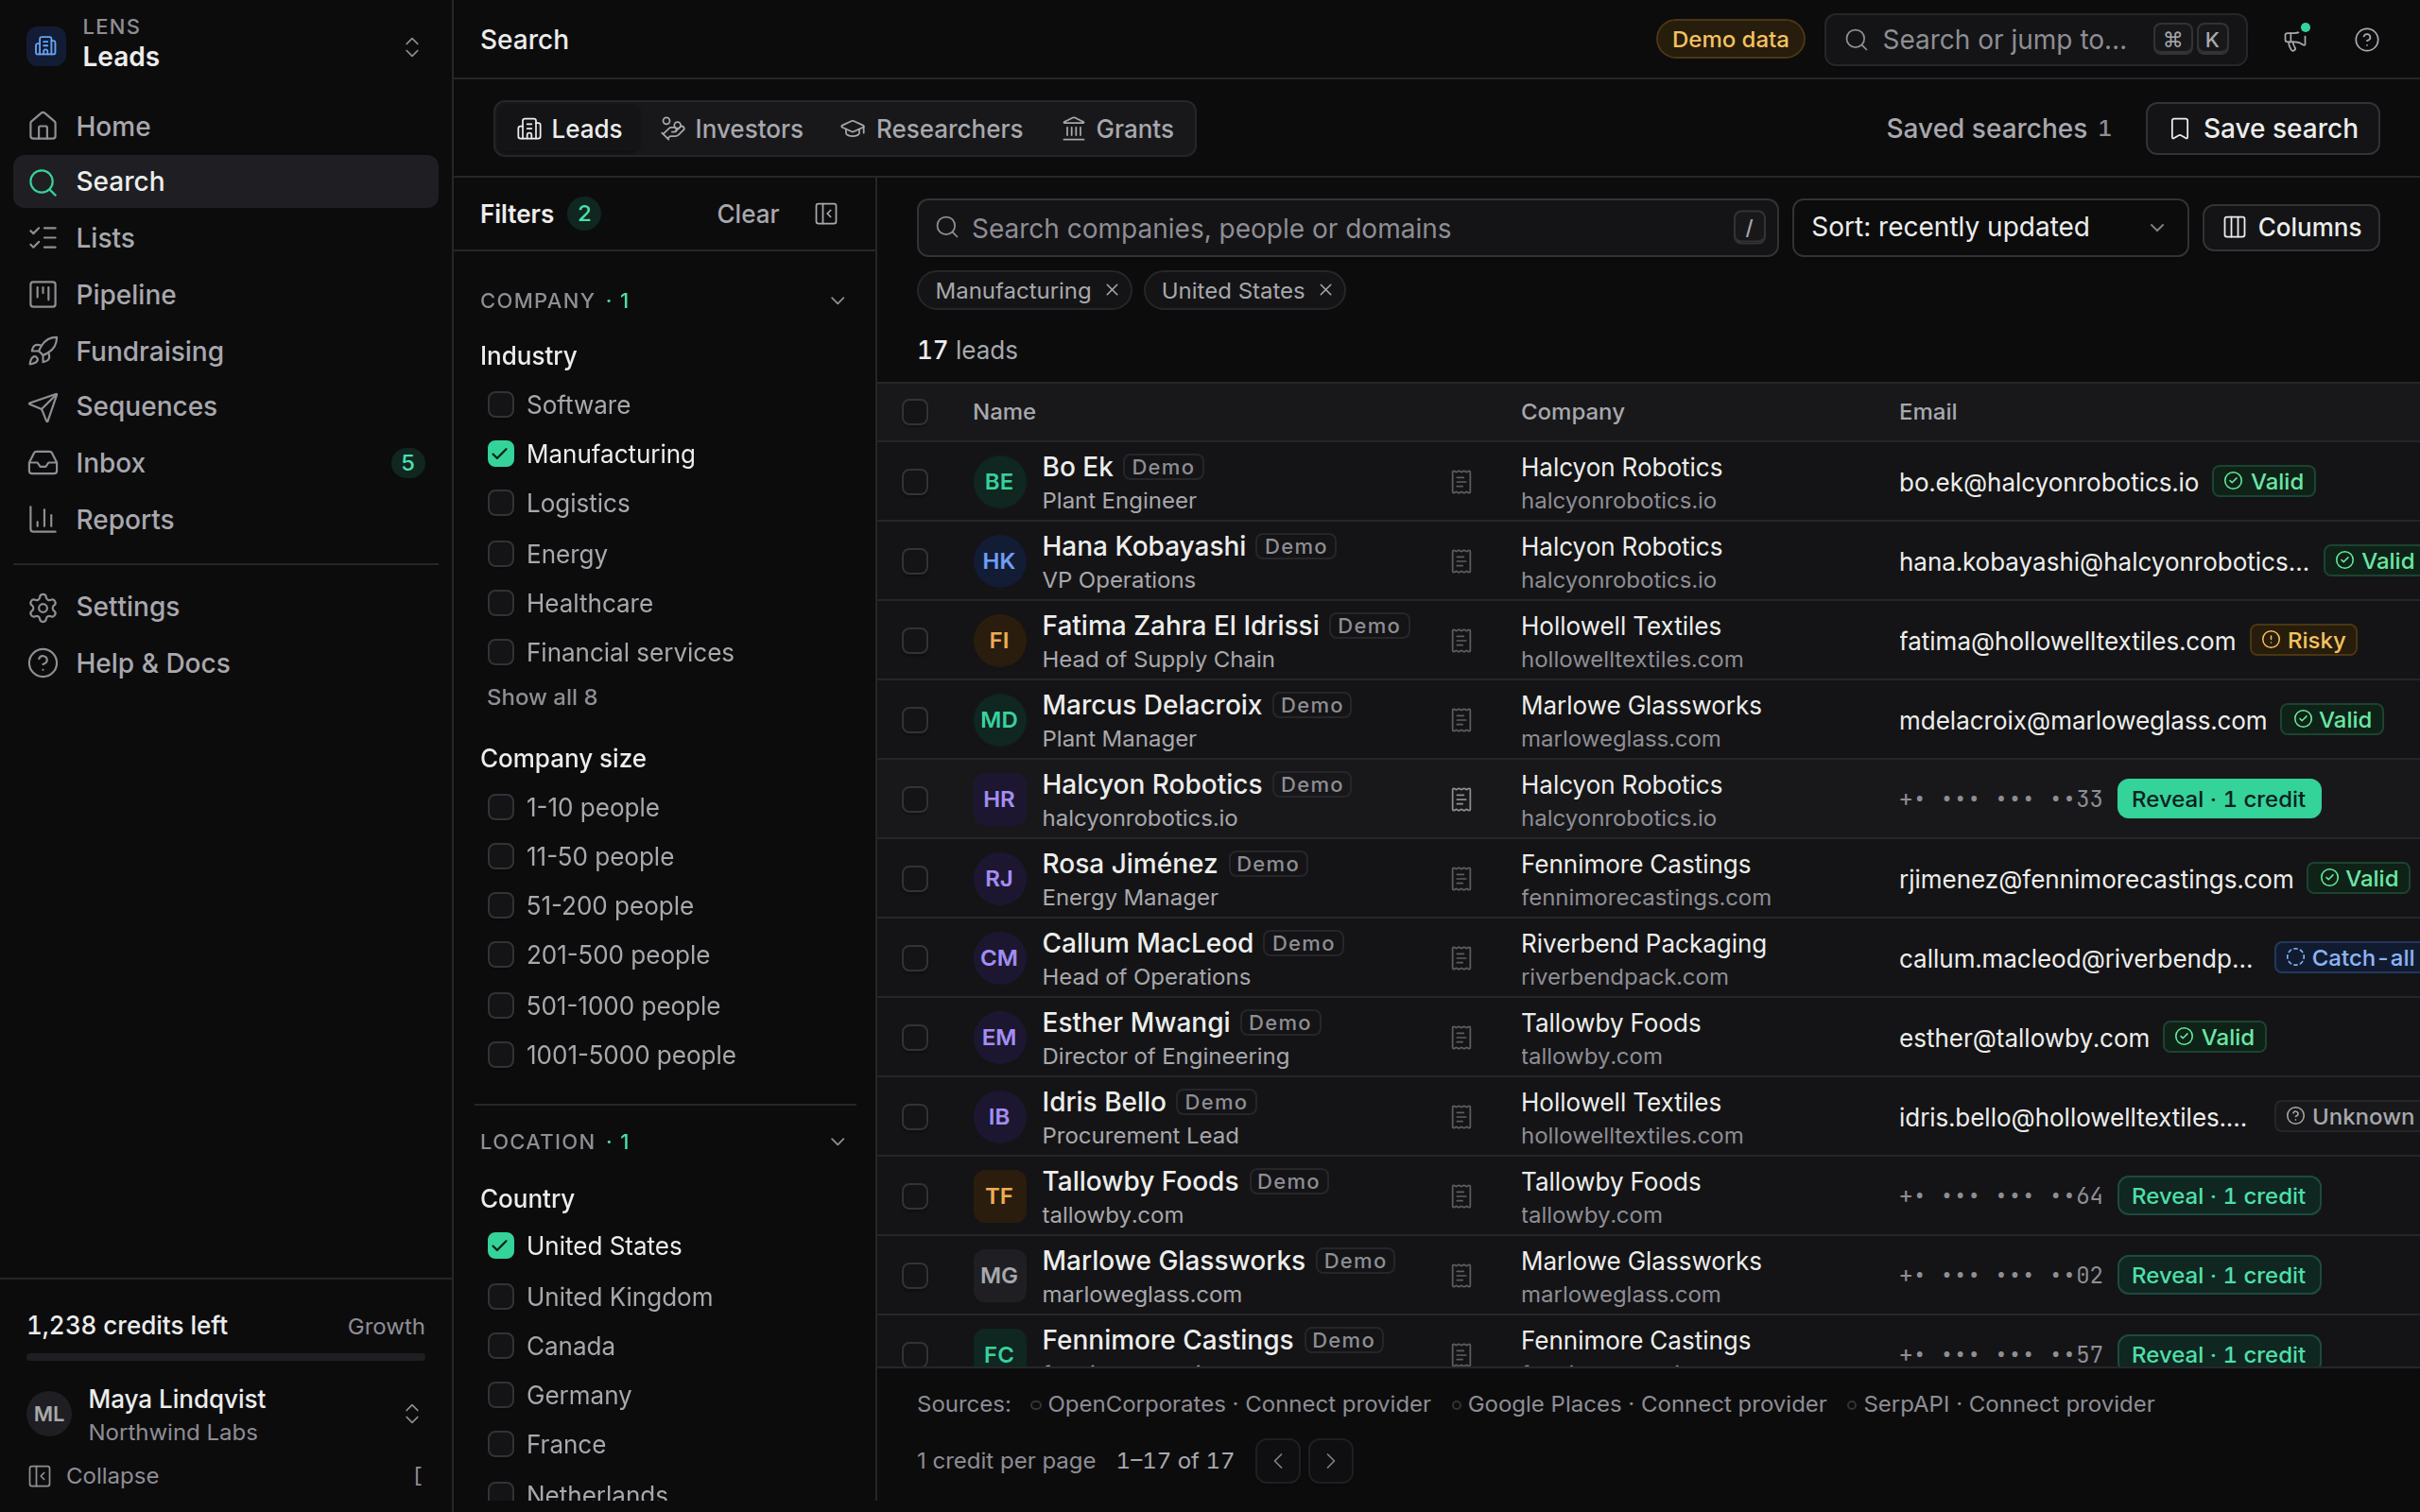
Revealing the same contact again never costs a second credit, and if a lookup fails or the address turns out to be invalid, the credit comes back automatically. Read Email verification statuses to understand each badge before you send.
Save it to your pipeline
Open the lead
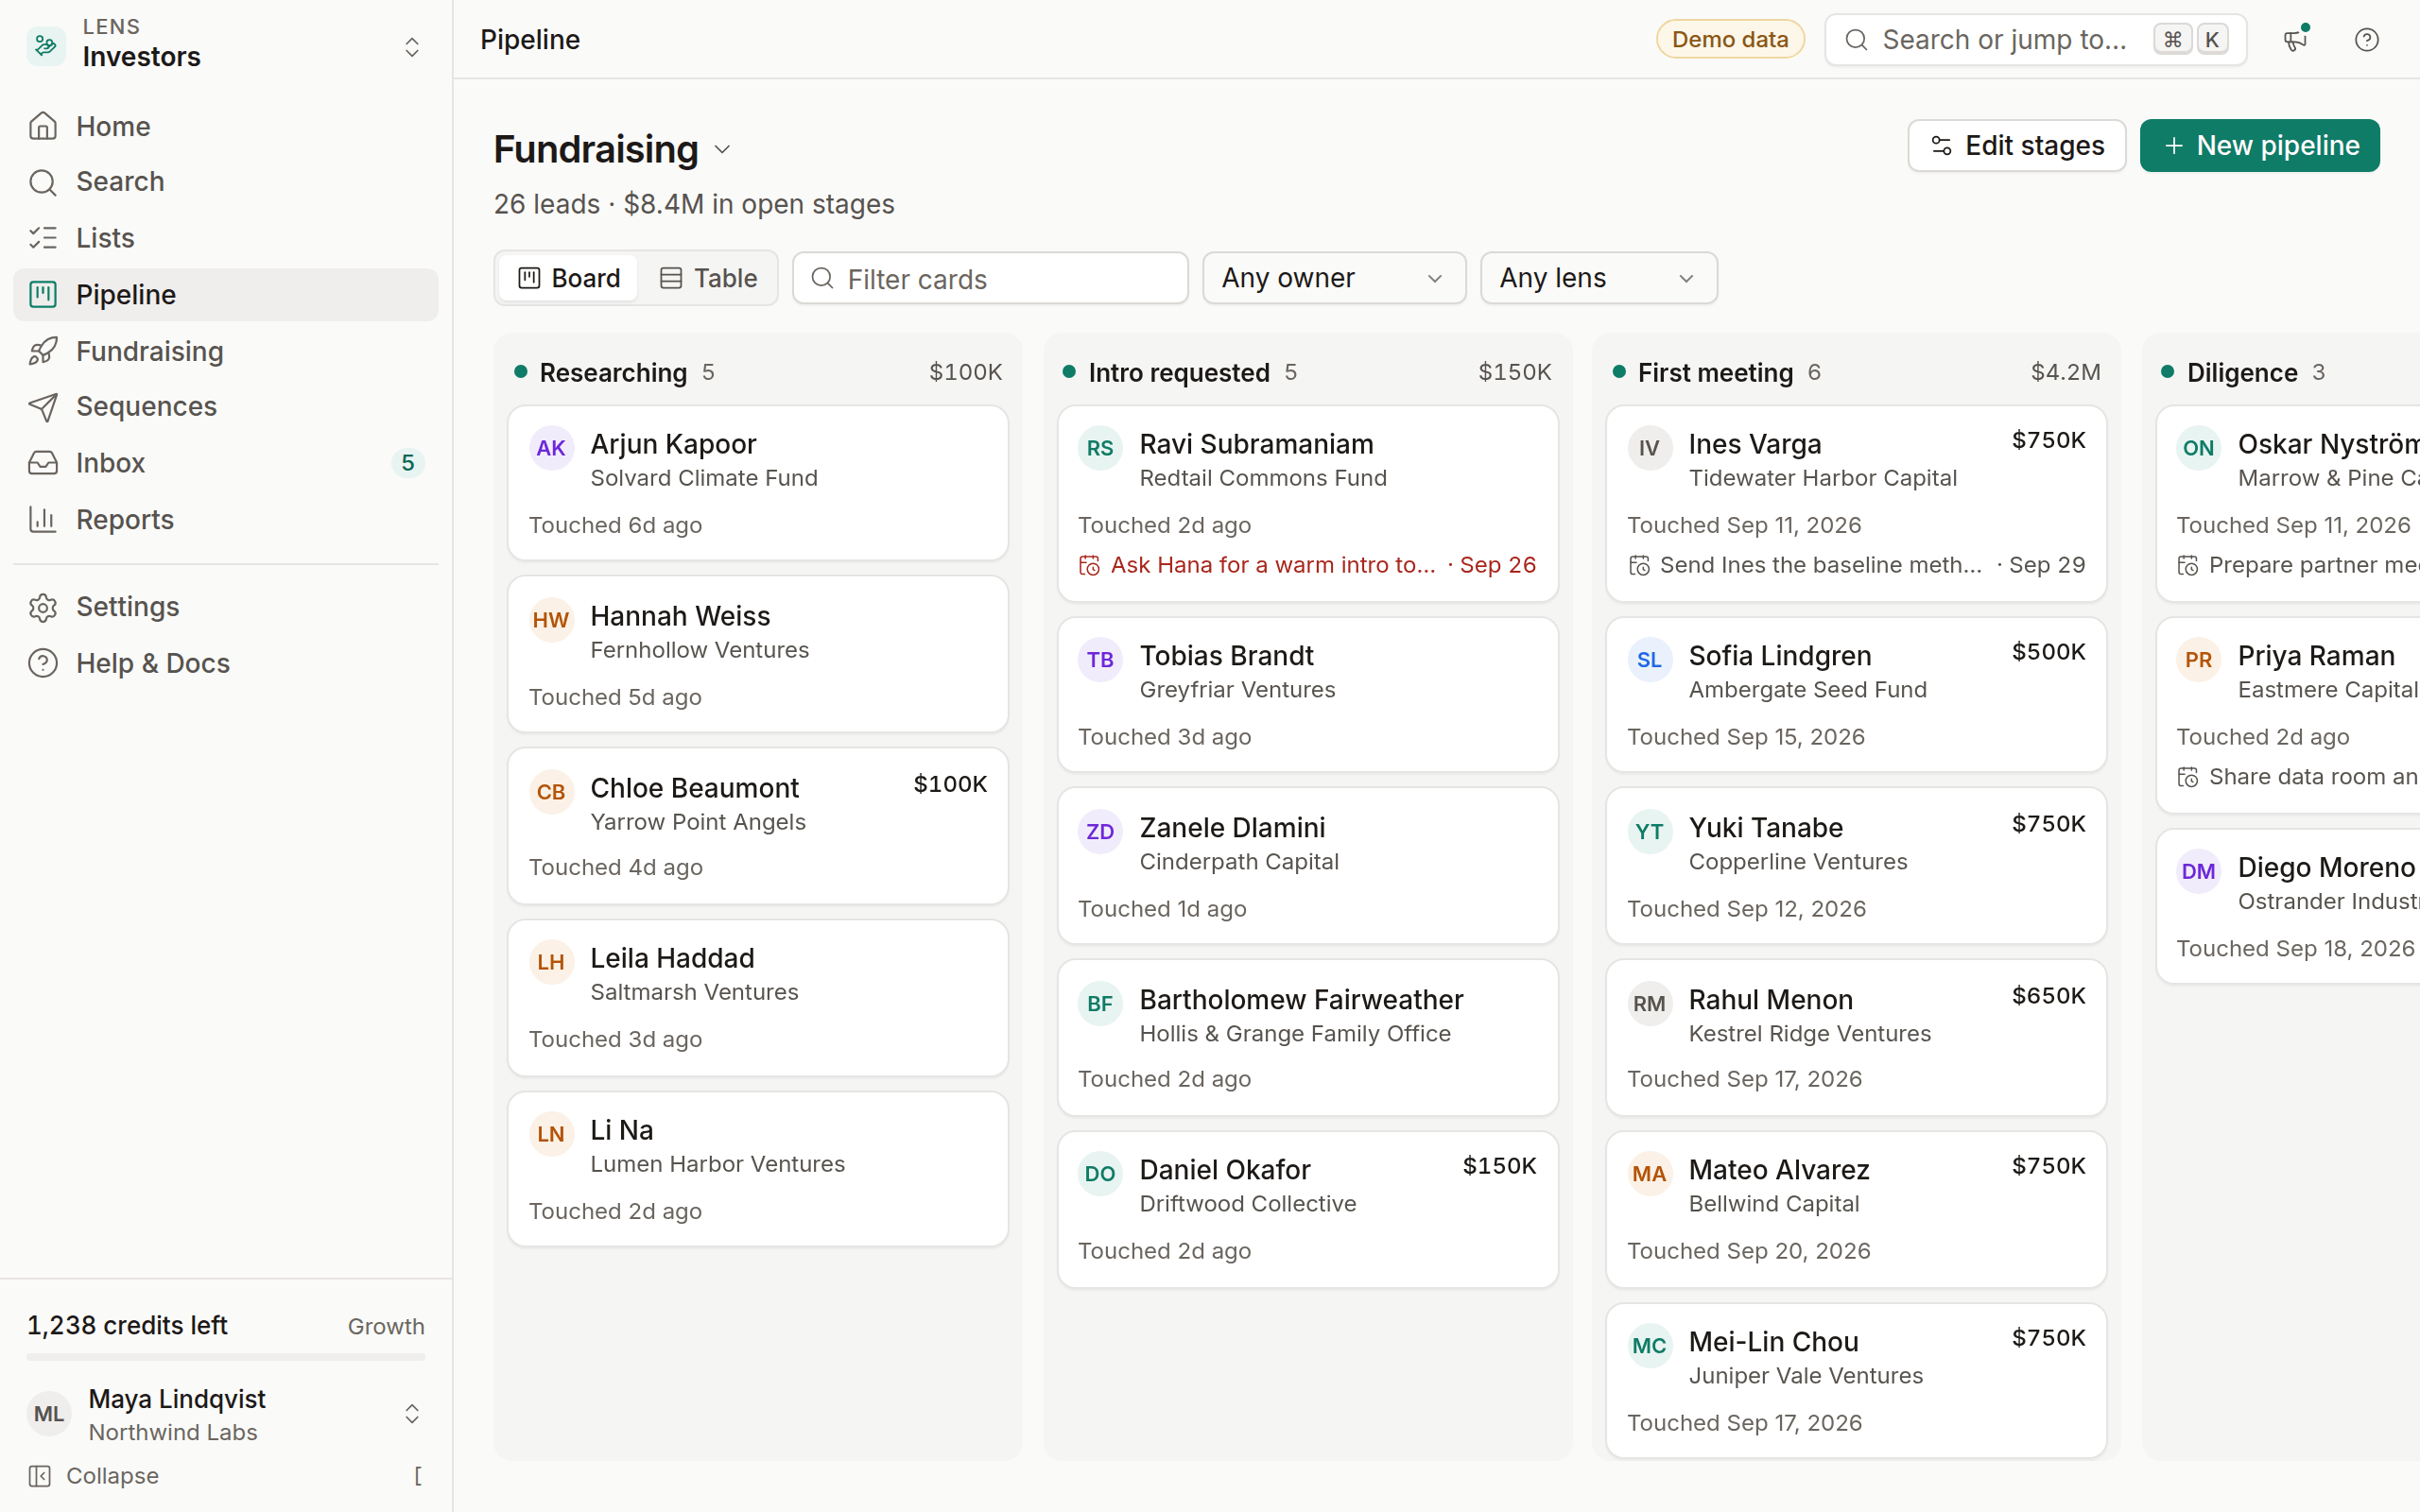
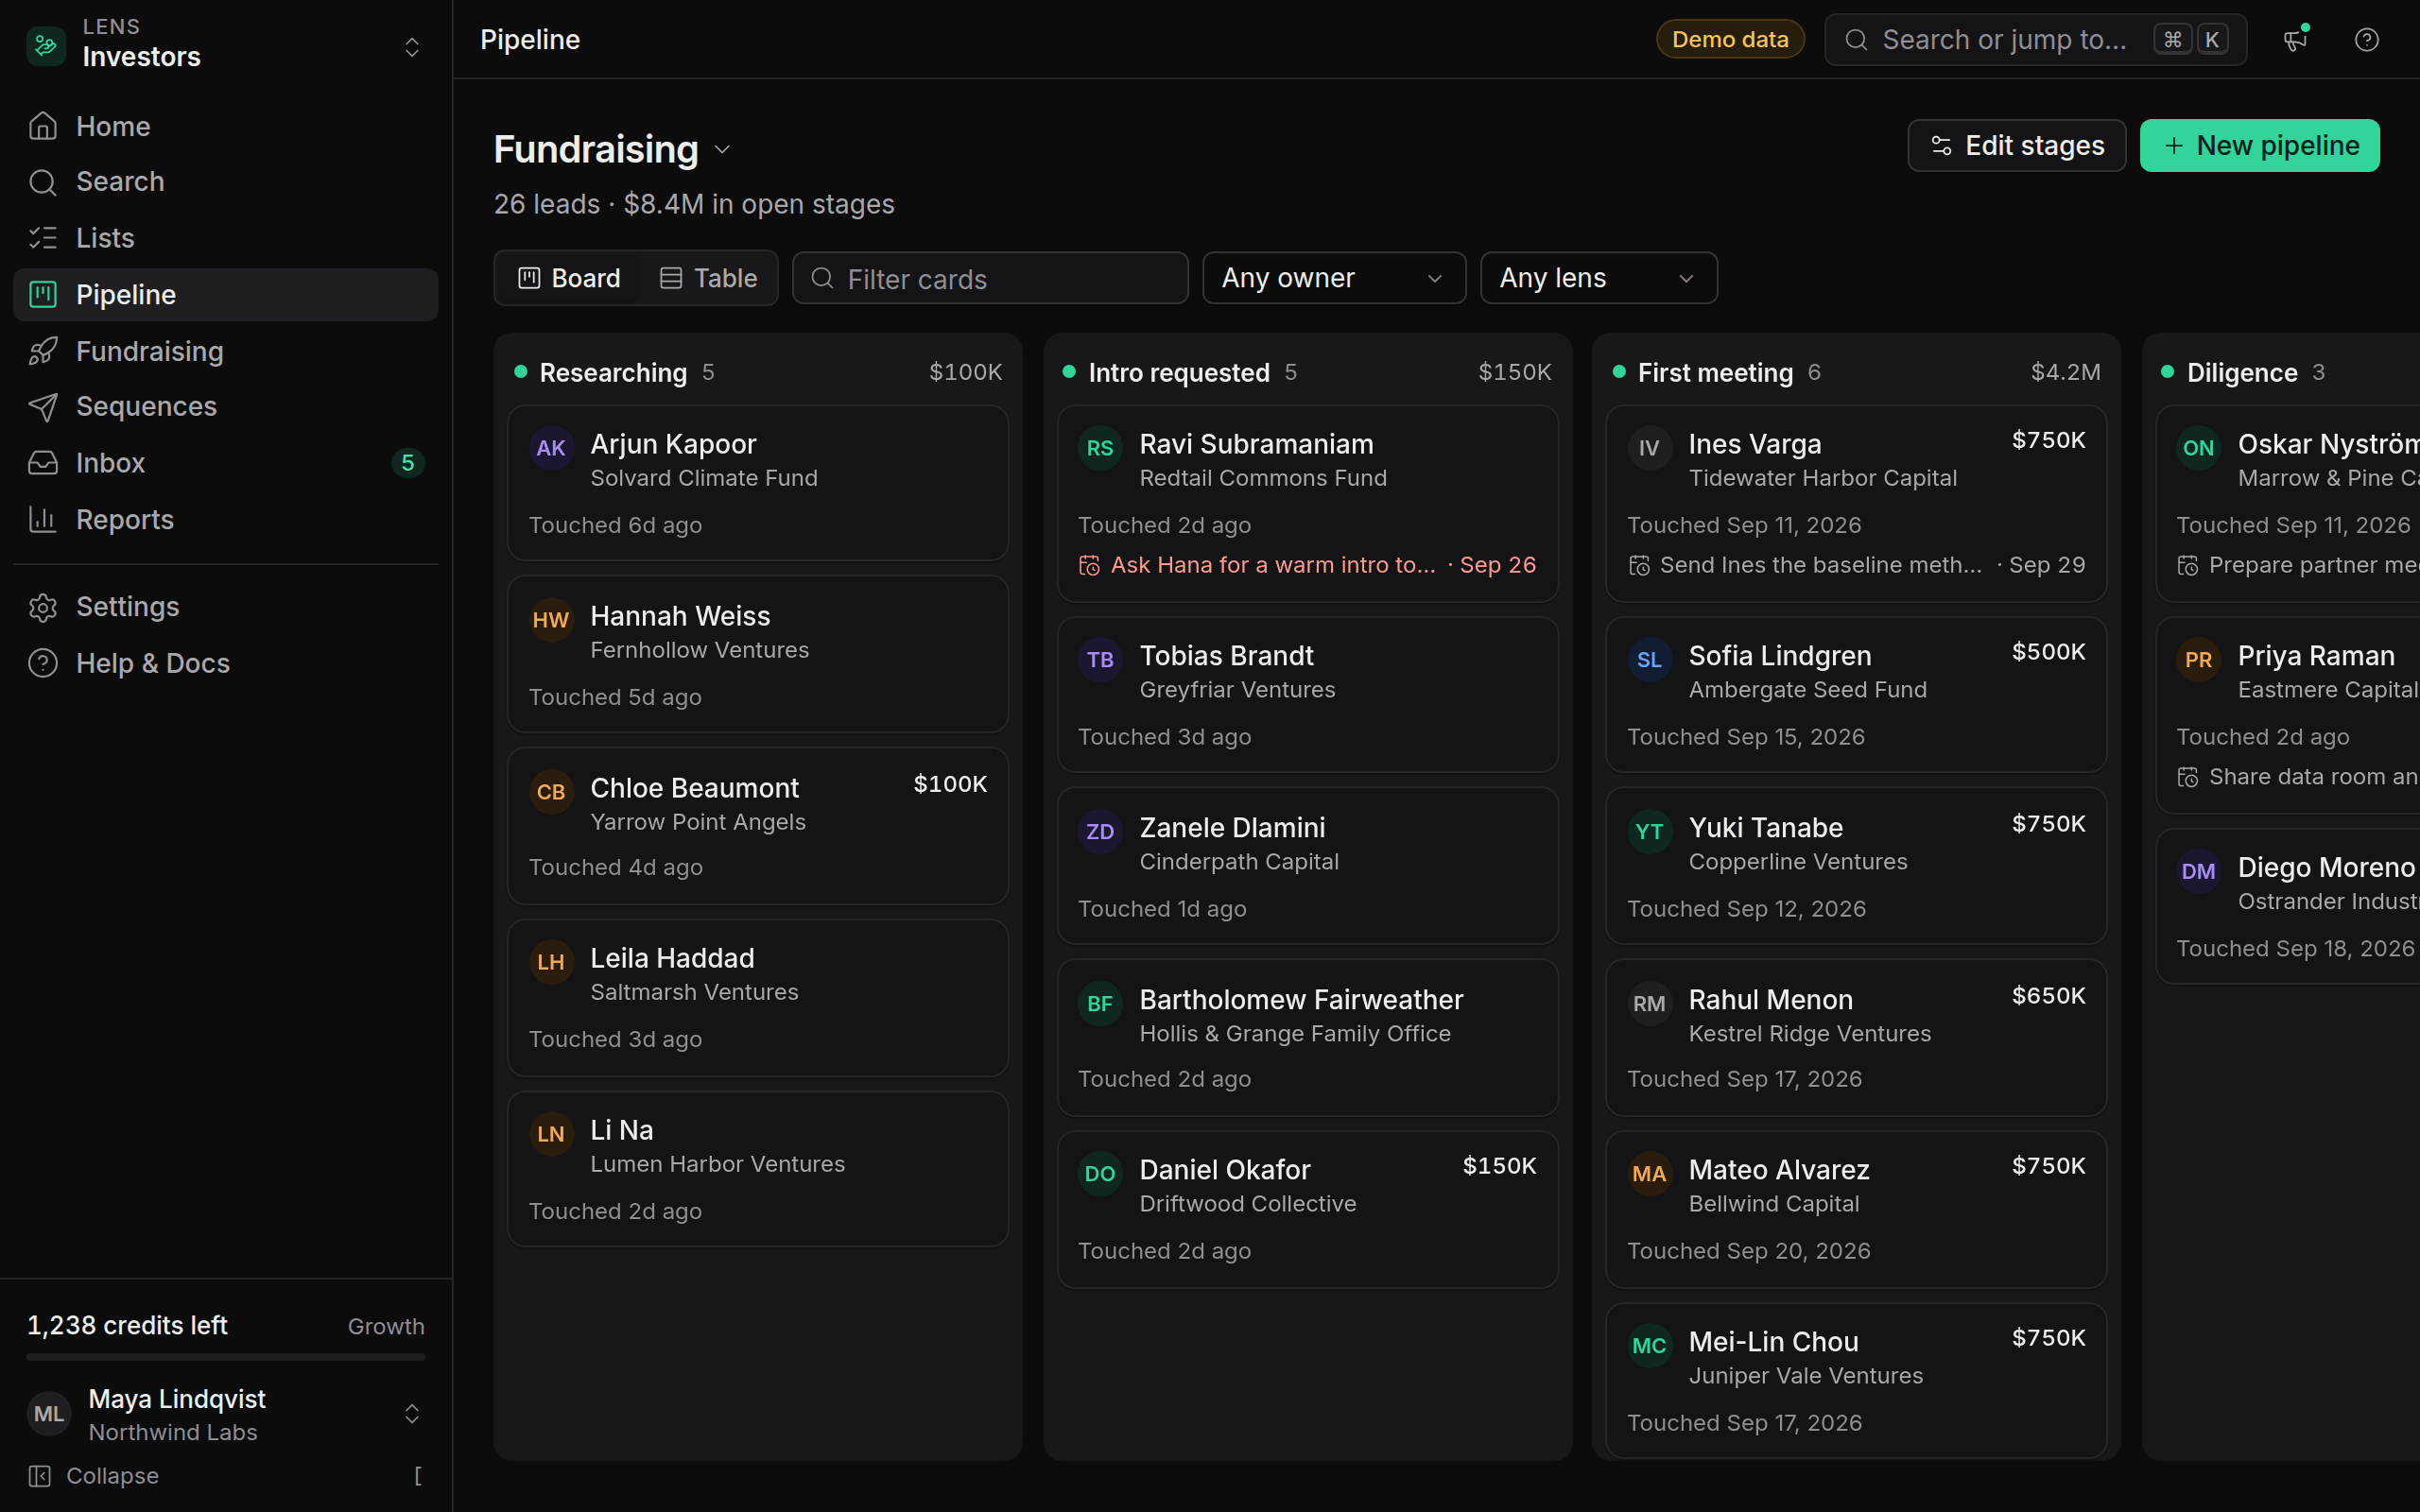
Click the name to open the lead drawer on the right.
Add to pipeline
Click Add to pipeline and choose a pipeline and a stage, for example Sales → New.
Add a note or task
Use the Notes and Tasks tabs in the drawer to record context and set a follow-up.
Connect a mailbox and send
When you're ready to reach out, connect the mailbox you'll send from. OmniLead sends through your own mailbox over SMTP and reads replies over IMAP, so messages come from you and replies land in your inbox as usual.
Open mailbox settings
Go to Settings → Mailboxes and click Connect mailbox.
Enter your details
Choose Gmail (app password) or Custom SMTP and enter the server details. Connect a mailbox has step-by-step instructions for each provider.
Test the connection
Click Test connection. OmniLead sends a message to the mailbox itself and logs in to IMAP to confirm both directions work.
Build a sequence
Go to Sequences, click New sequence, add your steps and click Launch sequence once the pre-launch checklist is green.
Shortcuts worth learning
You never need a shortcut, but these save time:
On Windows and Linux, use Ctrl in place of ⌘.