Set up DNS records at your DNS host
Add SPF, DKIM and DMARC records at Cloudflare, GoDaddy, Namecheap or Squarespace (formerly Google Domains), step by step.
This guide shows you exactly where to add SPF, DKIM and DMARC records at the four most common DNS hosts. If you're not sure what the records do, read SPF, DKIM and DMARC explained first. It takes about 15 minutes.
Find your DNS host
Your DNS host is where your domain's records are managed. It's often, but not always, the company you bought the domain from. If you moved your DNS to Cloudflare, for example, Cloudflare is your host even if you bought the domain elsewhere.
To check, look up your domain's name servers with any "NS lookup" tool:
Collect your three records
Before you open your DNS host, get the values you'll add. Replace the examples with your own.
SPF: one TXT record on the root domain, with the include for your email provider.
- Type
- TXT
- Host
@your root domain- Value
v=spf1 include:_spf.google.com ~all
DKIM: generated by your email provider. Google Workspace gives you one TXT record; Microsoft 365 gives you two CNAME records.
- Type
- TXT
- Host
google._domainkey- Value
v=DKIM1; k=rsa; p=(the key from your provider)
DMARC: one TXT record at _dmarc. Start with p=none.
- Type
- TXT
- Host
_dmarc- Value
v=DMARC1; p=none; rua=mailto:dmarc@yourcompany.com
Add the records
Pick your DNS host. Repeat the steps once for each record.
Open DNS records
Sign in to the Cloudflare dashboard, select your domain, and go to DNS → Records.
Click Add record
The form opens at the top of the records list.
Choose the type
Set Type to TXT (or CNAME for Microsoft 365 DKIM records).
Enter the name
In Name, enter
@for SPF, the selector such asgoogle._domainkeyfor DKIM, or_dmarcfor DMARC. Cloudflare adds your domain automatically.Enter the content
Paste the value into Content. Leave TTL on Auto.
Turn off the proxy for CNAMEs
For CNAME records, set Proxy status to DNS only (grey cloud). DKIM CNAMEs don't work through the proxy.
Save
Click Save.
Open your domain's DNS
Sign in to GoDaddy, go to My Products, find your domain and click DNS (or Manage DNS).
Click Add New Record
It's above the records table.
Choose the type
Set Type to TXT (or CNAME).
Enter the name
In Name, enter
@for SPF, the selector such asgoogle._domainkeyfor DKIM, or_dmarcfor DMARC.Enter the value
Paste the value into Value. Leave TTL on the default.
Save
Click Save. GoDaddy may ask you to confirm the change.
Open Advanced DNS
Sign in to Namecheap, go to Domain List, click Manage next to your domain, and open the Advanced DNS tab.
Click Add New Record
It's under Host Records.
Choose the type
Pick TXT Record (or CNAME Record).
Enter the host
In Host, enter
@for SPF, the selector such asgoogle._domainkeyfor DKIM, or_dmarcfor DMARC.Enter the value
Paste the value into Value. Leave TTL on Automatic.
Save
Click the green tick at the end of the row.
If your domain uses Namecheap's email forwarding or Private Email, Namecheap may already have created an SPF record. Edit it instead of adding a new one.
Open DNS settings
Sign in to Squarespace, open the Domains dashboard, select your domain, and go to DNS → DNS Settings.
Add a custom record
Scroll to Custom records and click Add record.
Choose the type
Set Type to TXT (or CNAME).
Enter the host
In Host, enter
@for SPF, the selector such asgoogle._domainkeyfor DKIM, or_dmarcfor DMARC.Enter the data
Paste the value into Data. Leave TTL on the default.
Save
Click Save.
Domains registered with Google Domains moved to Squarespace in 2023. Your existing records moved with them; check for an existing SPF record under Custom records or Google Workspace presets before adding one.
Finish DKIM at your email provider
Most providers need one more click once the DKIM record is published:
- Google Workspace: go back to Authenticate email in the Admin console and click Start authentication.
- Microsoft 365: in the DKIM settings for your domain, turn on Sign messages for this domain with DKIM signatures.
- Zoho Mail: click Verify next to the DKIM selector.
Check your records in OmniLead
Open mailbox settings
Go to Settings → Mailboxes.
Recheck
Click Recheck on the mailbox card for this domain.
Confirm all three pass
SPF, DKIM and DMARC should show Pass. If one shows Missing, wait a little and check again.
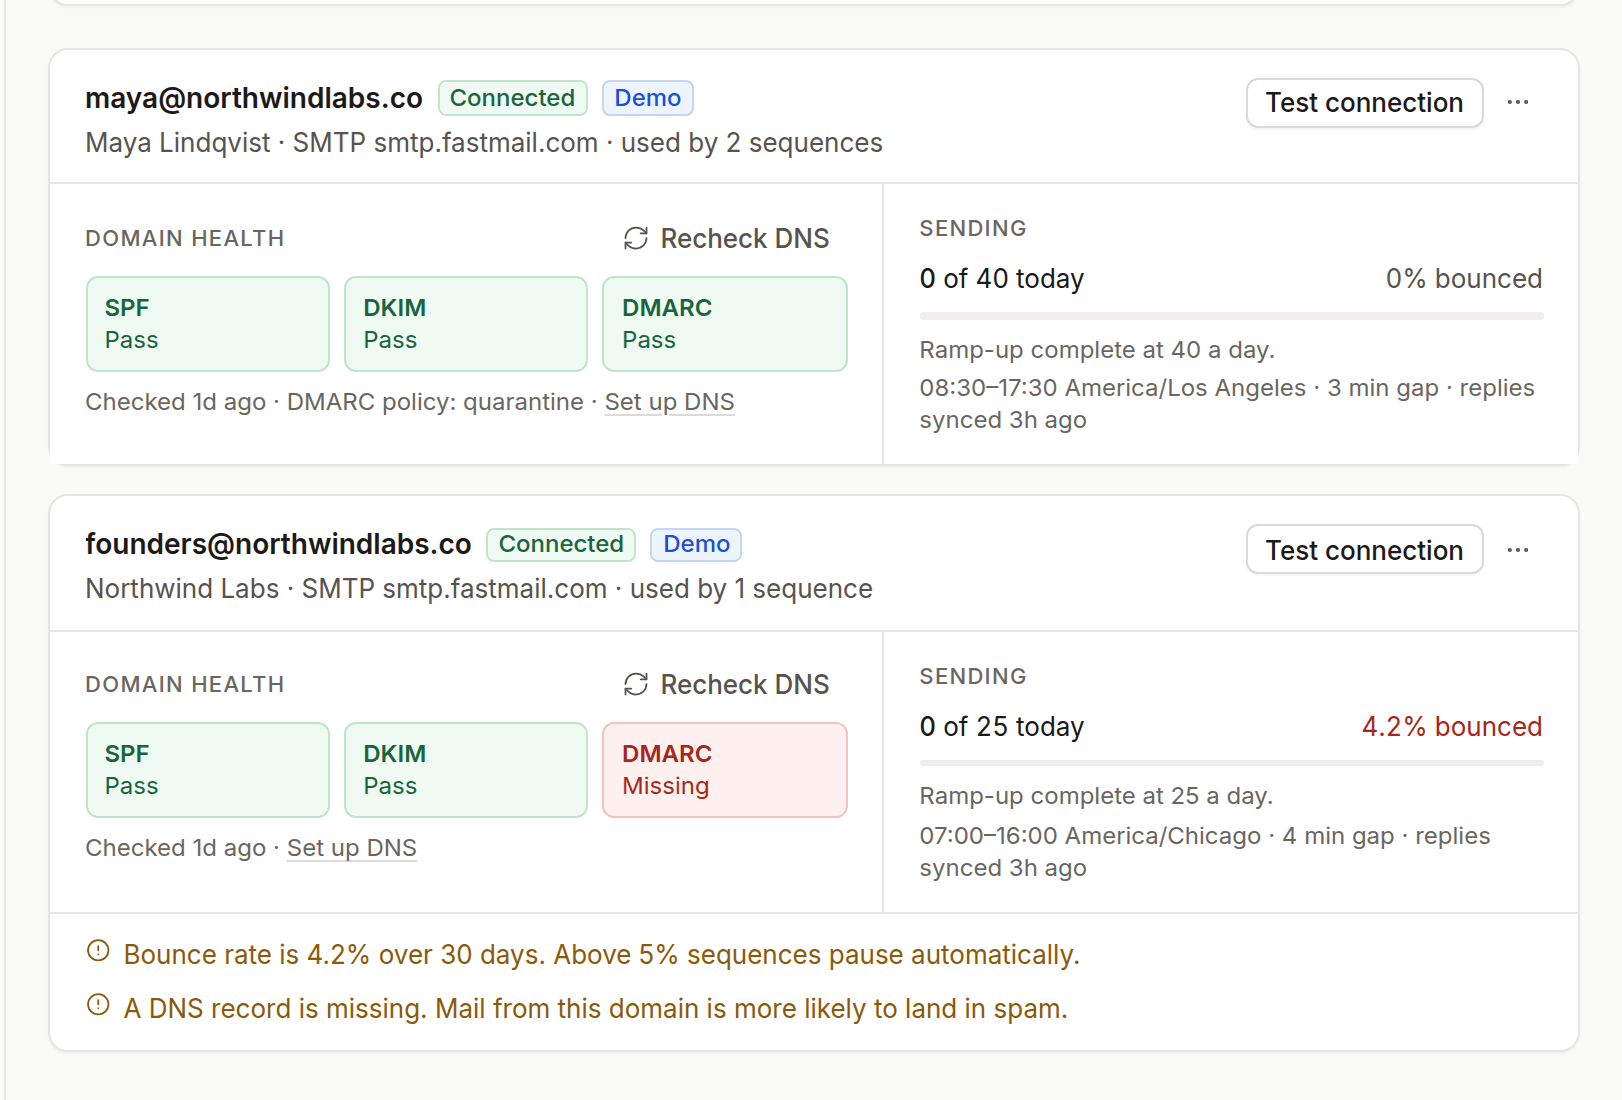
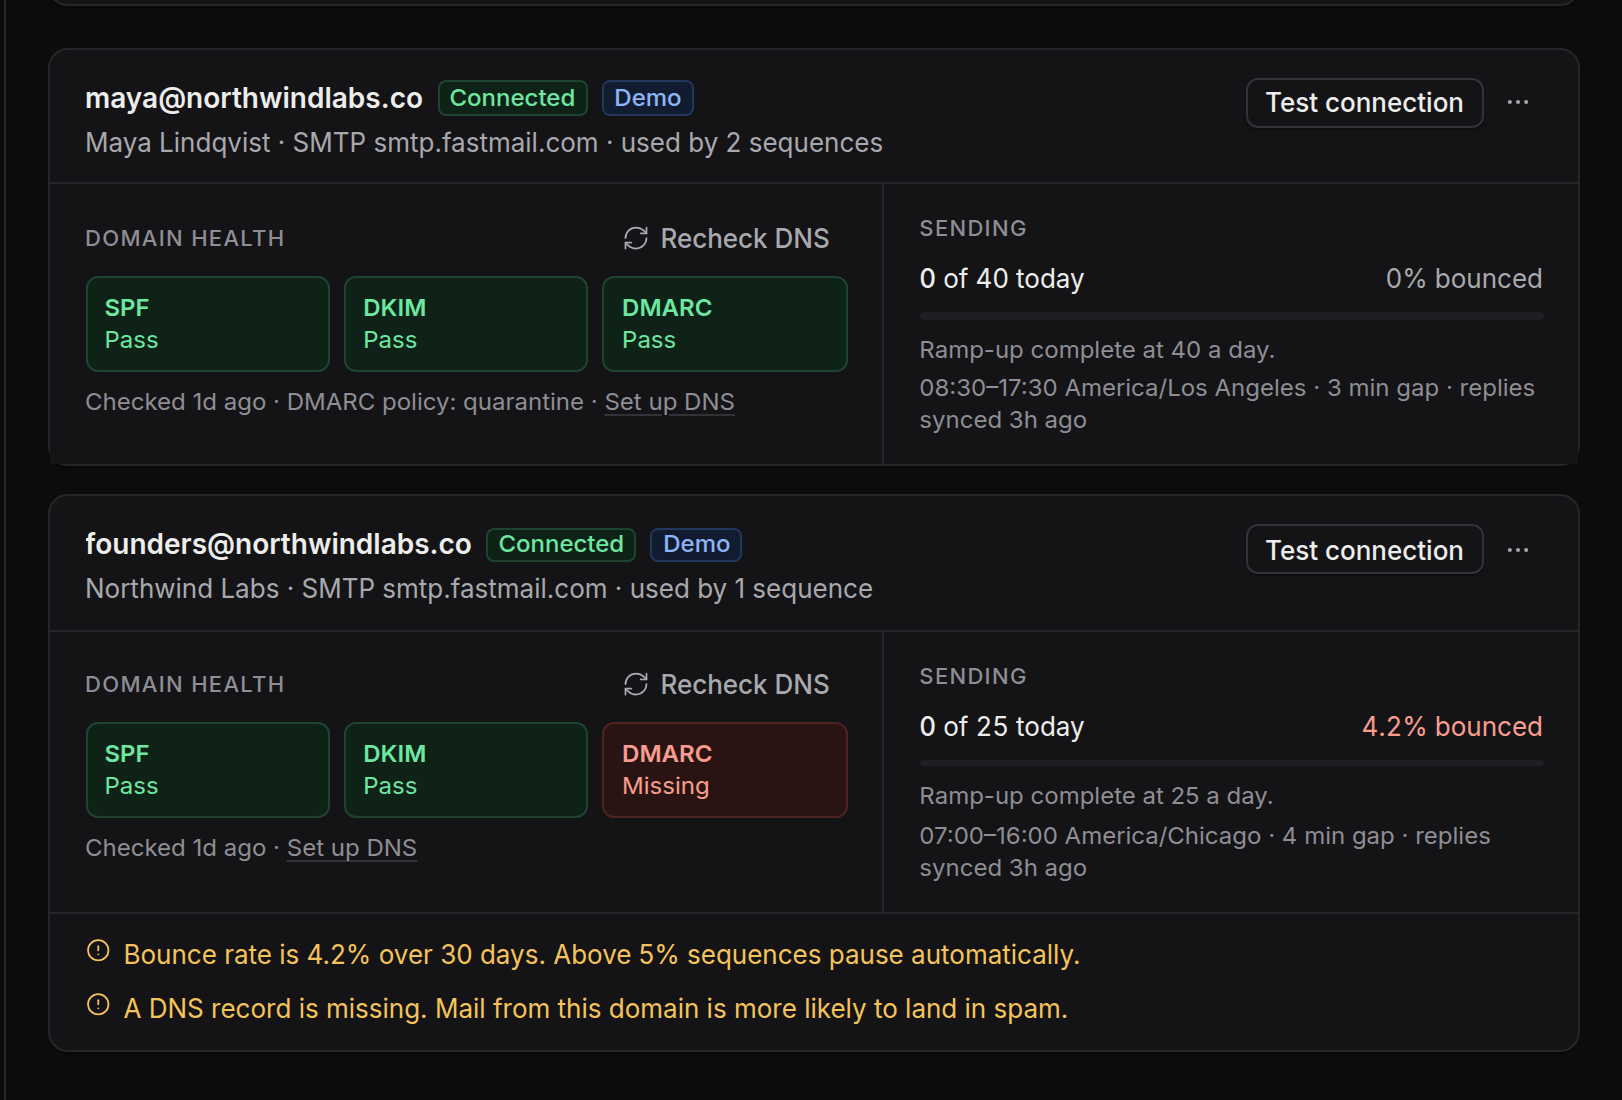
DNS changes usually appear within minutes, but can take up to 48 hours depending on the TTL of older records.